
Airly AI allows you to check buffer zones for a red line in your assessment. Airly AI calculates four buffer zones: 20 metres, 50 metres, 100 metres, and 250 metres. Learn how to use these buffer zones effectively.
Airly AI enables you to calculate and display buffer zones using two methods:
- Upload a .shp file containing the red line boundary.
- Create your own red line boundary in QGIS.
Initial Buffer Zones
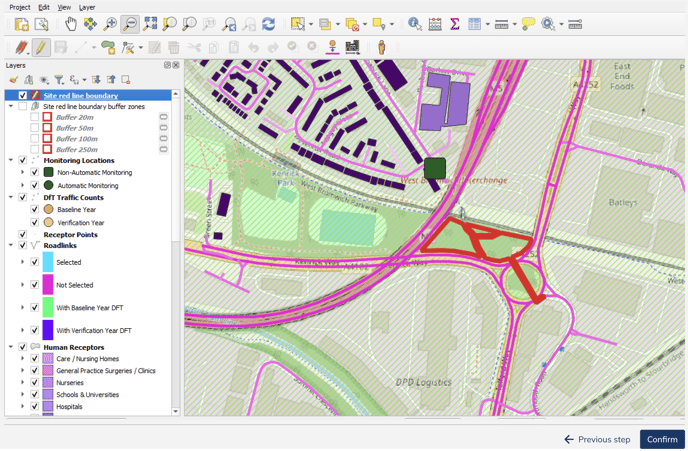
If you upload a .shp file containing the red line, the operation is straightforward. In the "Layers" window, you will see that all buffer zones are available to display. By default, each buffer zone is hidden. You can make a particular buffer zone visible by clicking the checkbox next to it. Each buffer zone has the same red colour as the red line, but the line is thinner.

If a red line is not provided or needs to be created based on a .pdf file, buffer zones will not be calculated initially.
How to display a Buffer Zone
To display any buffer zone, click the checkbox near to the desired zone in the "Layers" window. For example, to display the 50-metre buffer, find the "Site red line boundary buffer zones group", and locate the "Buffer 50m" label.

To make it visible, click the checkbox next to the label. Now, you can see the buffer zone around the red line.

Buffer Zones without a Red Line
If you did not provide a .shp file with a red line, buffer zones will not be available. In the "Layers" window, only the "Site red line boundary" layer will be available.

However, you can still recalculate buffer zones and make them visible by drawing a red line. Follow the next section to learn how to do it.
How to Recalculate Buffer Zones
To recalculate buffer zones for the red line, follow these steps after making changes:
1. Select the red line layer.

2. Click the "Toggle Editing" icon in the top-bar menu.

3. Make any necessary changes to the red line, such as extending a feature or adding a new one. Note that when you enter edit mode, all buffer zones will be hidden (but they will still be visible in the "Layers" panel).
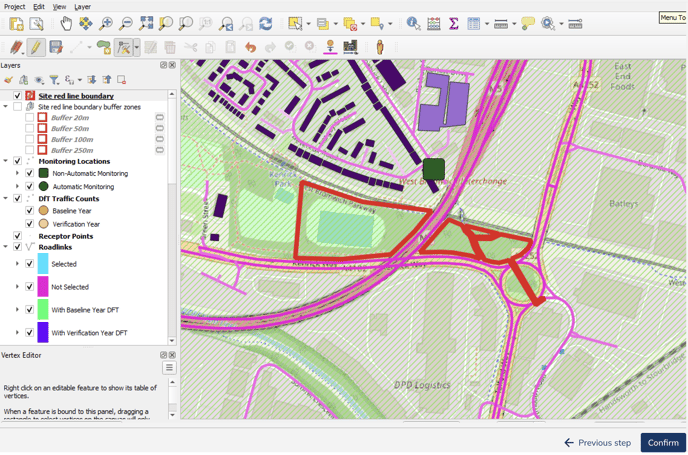
4. Save changes to the layer by clicking the "Save Layer Edits" icon in the top-bar menu.

5. After saving, the buffer zones will be recalculated. To see them, you need to check the visibility of the needed buffer zone again. Refer to the section "How to display a Buffer Zone" to review how to do this.
